

Best Cheap Large Monitor Stand? Vivo Black Ultra Wide Stand Review
Check the latest price, confirm compatibility with your setup, and then read our full hands-on review.
Quick verdict on the Best Cheap Large Monitor Stand? Vivo Black Ultra Wide Stand Review
Quick summary
About a month ago, I decided to make the switch from dual 4k 27″ monitors to a single 48″ LG C1 120hz 4k OLED TV/monitor for my home office setup. I decided to do this for several reasons including just wanting to try something out new. I was thinking that it would be better for my workflow and also better for gaming as my xBox Series X is now temporarily…
About a month ago, I decided to make the switch from dual 4k 27″ monitors to a single 48″ LG C1 120hz 4k OLED TV/monitor for my home office setup.
I decided to do this for several reasons including just wanting to try something out new. I was thinking that it would be better for my workflow and also better for gaming as my xBox Series X is now temporarily hanging out in my office until the theater is done.
There is one big problem with using the C1 on a desk as a monitor stand. The screen really likes to wobble on the stock stand with any desk movement. TV’s are not meant to be placed on desks…rather media stands. So when you get to typing and doing other things on the desk, the top of the C1 likes to move a lot. A fix to this issue is to go to a mount that uses the central VESA mount. Since I have had a great experience with VIVO’s dual mount on the previous setup, I decided to give their single, large format mount a try.

VIVO Black Ultra Wide Stand Specs
- Solid Steel Construction – Provides excellent support and durability for one TV screen (23” to 55”) weighing up to 66 pounds with VESA 75x75mm to 400x400mm mounting holes.
- Full Motion – Enjoy ergonomic viewing angles with -15° to +15° tilt and -50° to +50° swivel for optimal screen positioning and glare reduction.
- Height Adjustment – Elevate your screen to the desired height with a series of mounting holes located along the center pole for multiple height setting options from 10.1″ to 21.5″.
- Sturdy C-Clamp – Ensures ultimate stability for your TV setup (maximum desk thickness of 3.25”), and an optional grommet mount is included to accommodate a variety of desk and table layouts.
- We’ve Got You Covered – Sturdy steel design is backed with a 3 Year Manufacturer Warranty and friendly tech support.
VIVO Black Ultra Wide Stand Install
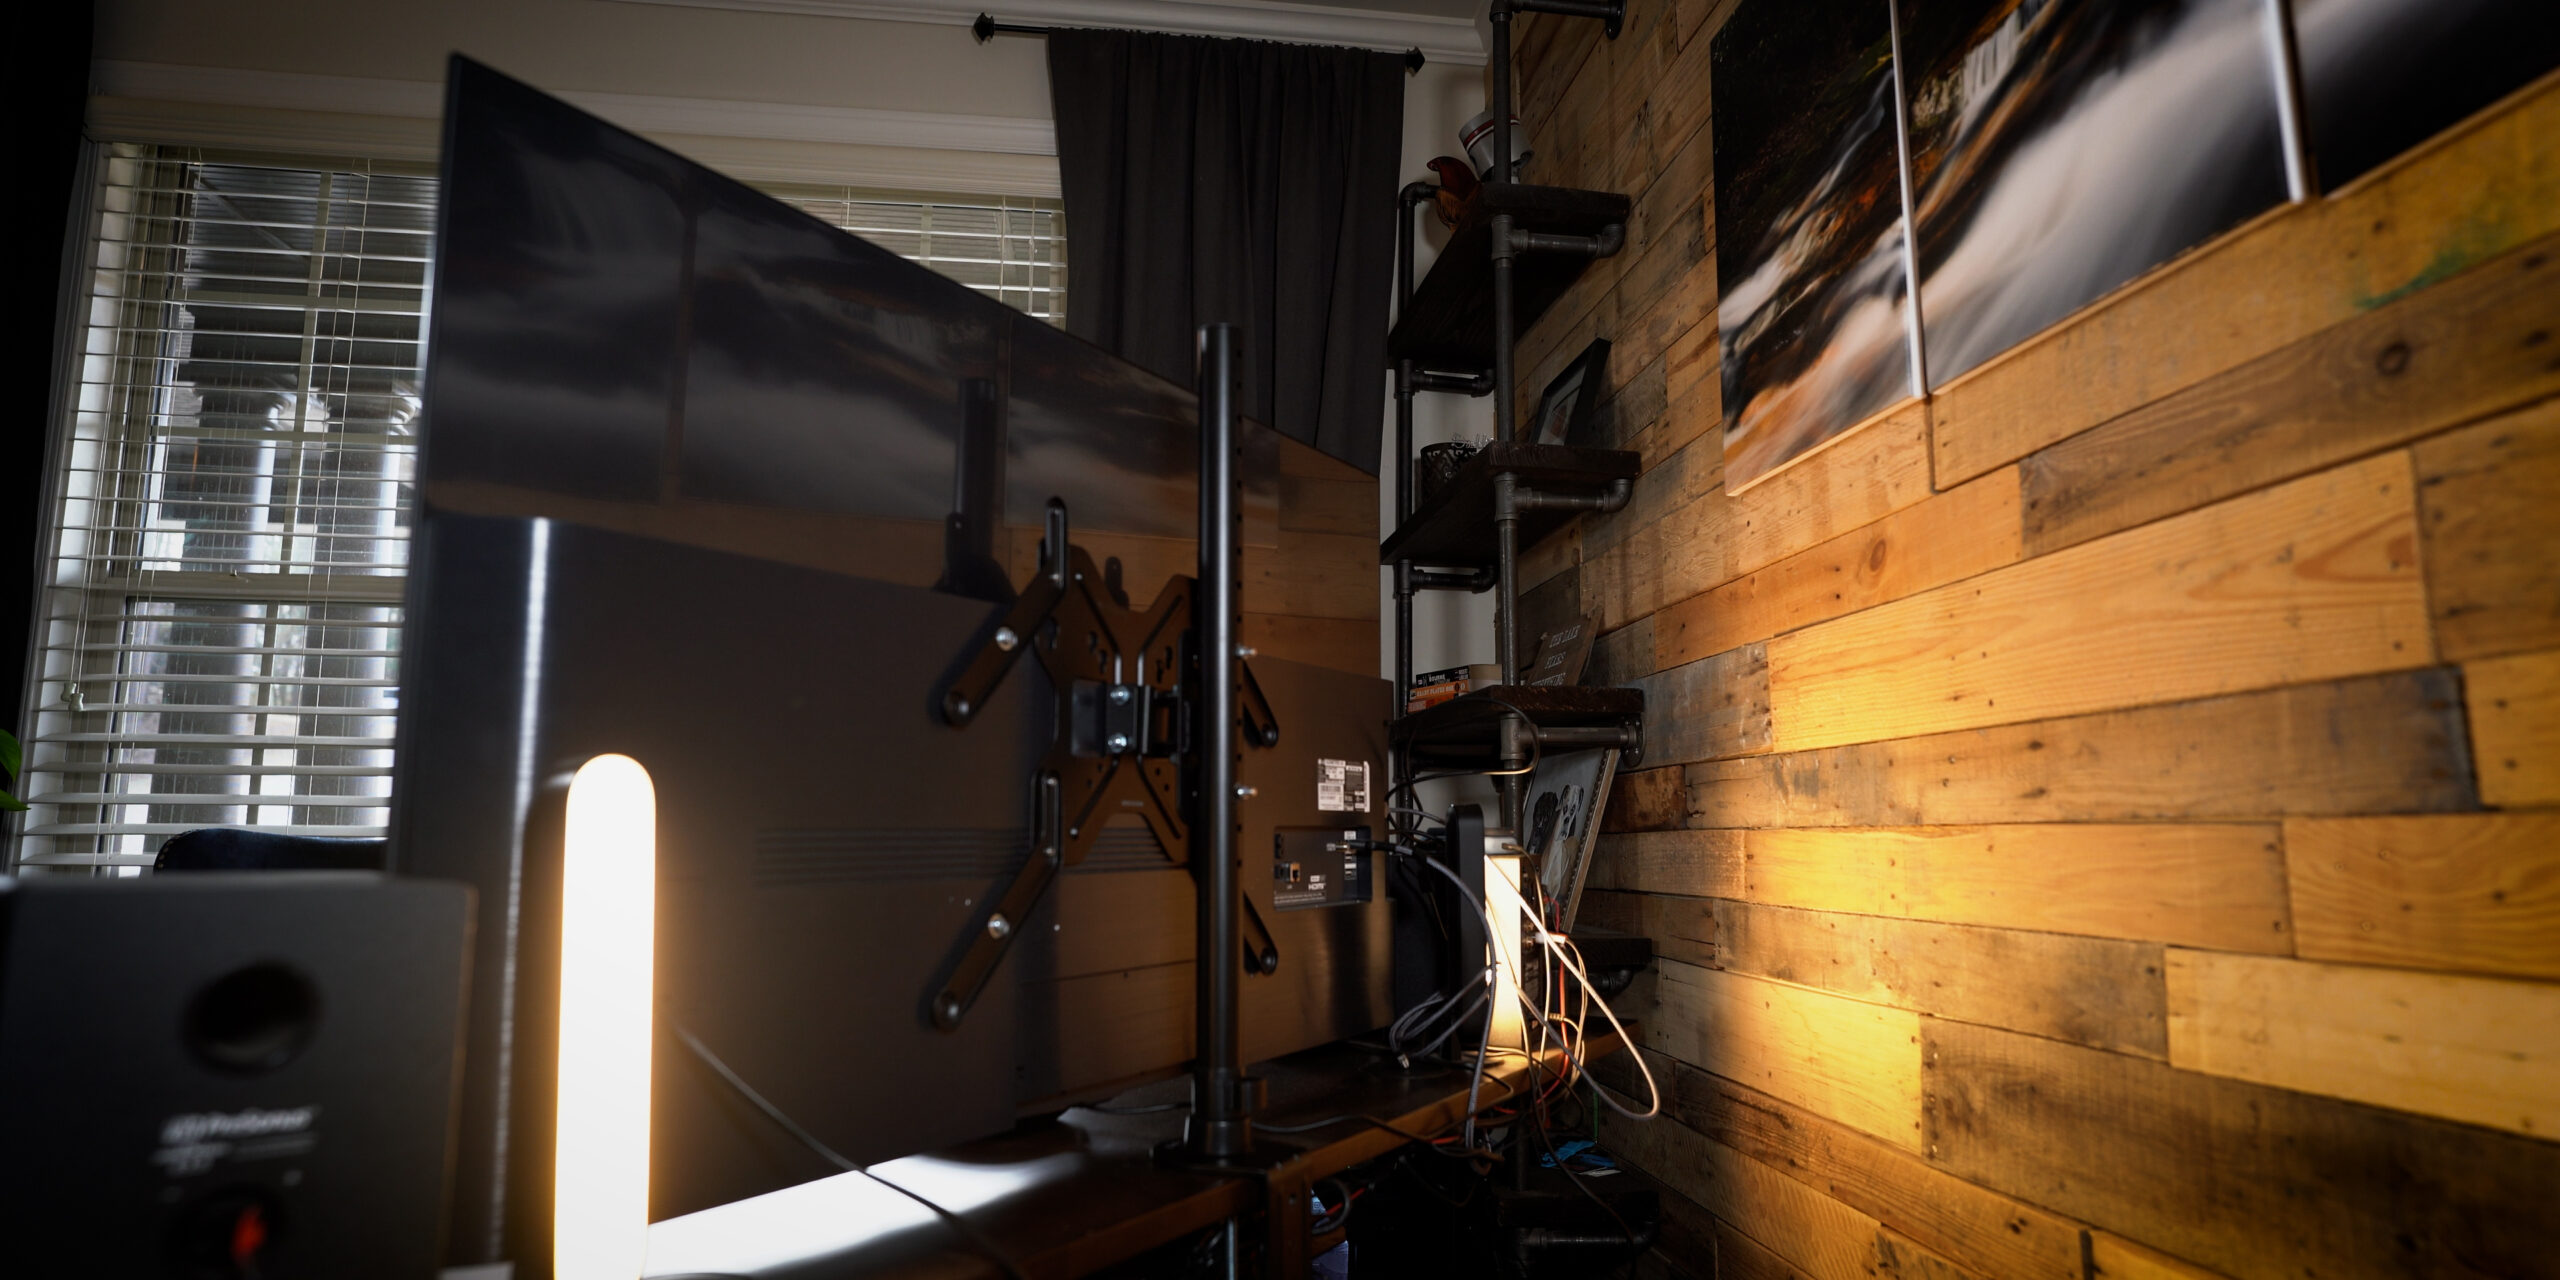
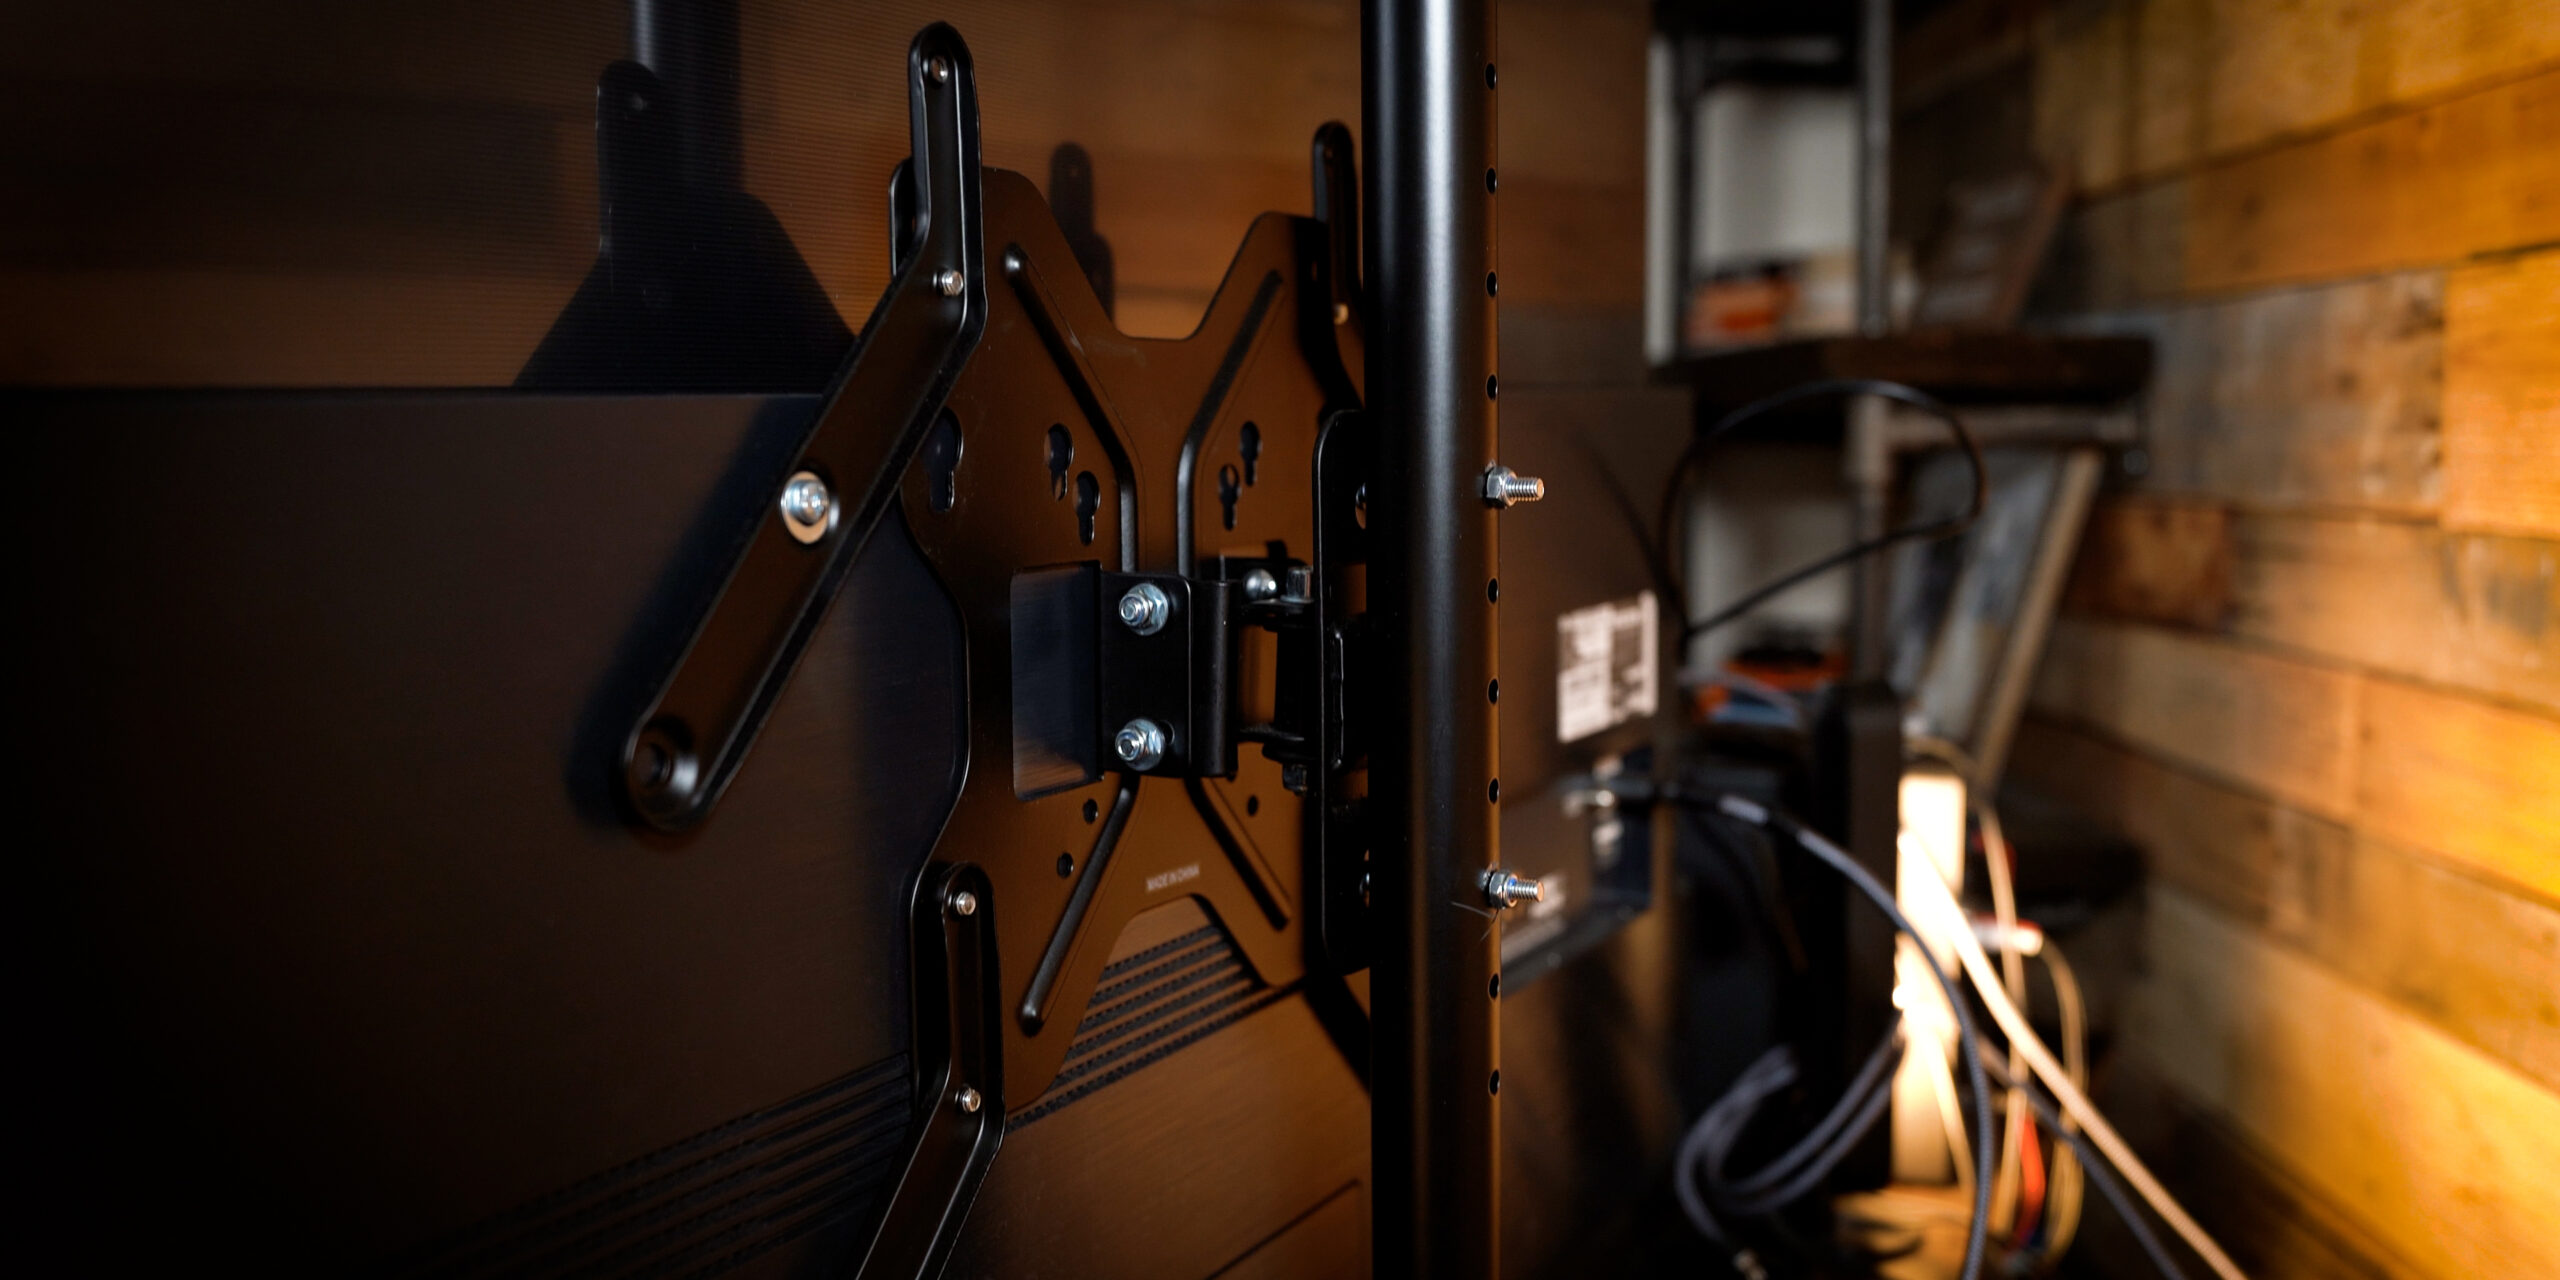
The install on this single mount was even easier than the dual (obviously…one monitor). After you remove the stock stand from the TV/monitor, you attach the bracket on the back of the TV on the VESA mount location. The instructions tell you the exact configuration of the mount for your VESA mounting holes.
The pole screws into the base and the base plate can either be clamped like I have here or put through the hole of a desk. Where this mount is very different than the dual mount is the adjustment of the height and the attachment to the pole. This stand is a more semi permanent mount in the fact that it can not be micro adjusted or even adjusted on the fly. There are two bolts that go from the mount and through the pole to attach the monitor at your desired height. If you want to adjust the height further, you have to undo those bolts again.
You can then tilt and swivel as needed for your setup and tighten everything down. Done!
VIVO Black Ultra Wide Stand Review
Now that I have had about a month with this setup, let’s get into what I think about it.
First…the Good
The stand did exactly what I needed it to. It stabilized the monitor for regular use and got me back some of my desk space. The stock stand of the LG is REALLY wide. By mounting the monitor on a stand, it not only looks cleaner but the monitor is able to sit farther back on the desk. It also almost completely got rid of the major wobbling issues I was getting with the factory stand of the monitor. That was one of the major drivers of getting a more stable mount and it worked out perfectly.
Second…it’s an incredible value. At $59.99, it is hard to find a stand that will hold a monitor this size safely. While it may feel weird putting a $1k plus monitor on a 60 dollar stand…it really does exactly what it is supposed to. It holds the monitor safely, securely and without any major issues. Even better, it literally just disappears behind the monitor. You do not see a single bit of the assembly on the desk at all. It looks like the monitor is just floating on the desk.
Then…the Bad
With a monitor mount of this design you are giving up certain adjustability. The bolt through design does not allow you to fine tune height at all. You are limited to the placement of the holes and how those interact with the vertical height of your monitor. In the case of my C1, it actually worked out perfectly as I was able to get the monitor as low as I could with a slight gap at the level of the desk. That is exactly what I wanted. That will vary depending on the monitor you choose.
That limited adjustability really makes this stand a “set and forget” setup. When you are dealing with large format monitors such as this one, that is a reality that you deal with anyway. You need to get it low to desk level to be viable. When it comes to ultra wide monitors, you might want more vertical fine tuning than you get with this setup.
Also, I would not use this for smaller format monitor setups. I like to not see the hardware behind my monitors. If you are going to see the pole above the monitor, that would be a deal breaker for me. I do realize that is pretty OCD of me but it is also how I have always run my desk setups. I don’t mind seeing some of the mounting hardware below my monitor (like the previous setup) but I could not stand seeing it above.
Overall on the VIVO Black Ultra Wide Stand
If you are looking for a simple setup to mount a large monitor to your desk that just does the job…this is it. If you need more adjustability when it comes to height, you are probably going to want to look into an arm of some sort. This mount really reminds me of a wall mount for your TV. It will get you 99% there in most cases but if you need to be able to find tune things, it is going to be difficult.
For my use case, it worked out perfectly and it did that at a surprisingly low price point. I needed a “set and forget” setup that I was not going to move once it was mounted. The VIVO Black Ultra Wide Stand did just that. If I needed more movement on the fly…this wouldn’t work but that is not what I needed.
It is hard to go wrong for $60 for this setup.
Frequently asked questions about the Best Cheap Large Monitor Stand? Vivo Black Ultra Wide Stand Review
What is Best Cheap Large Monitor Stand? Vivo Black Ultra Wide Stand Review and what does it do?
Who is Best Cheap Large Monitor Stand? Vivo Black Ultra Wide Stand Review best for?
What are the main downsides of Best Cheap Large Monitor Stand? Vivo Black Ultra Wide Stand Review?
Should you buy the Best Cheap Large Monitor Stand? Vivo Black Ultra Wide Stand Review?
If this review helped you decide, using our link is the easiest way to support future testing and keep the site running.